Observação
O acesso a essa página exige autorização. Você pode tentar entrar ou alterar diretórios.
O acesso a essa página exige autorização. Você pode tentar alterar os diretórios.
This article guides you through the process of purchasing a software as a service (SaaS) solution from Security Store and deploying linked agents or integrations. You'll configure billing, set up your subscription, and optionally deploy solutions to your Microsoft Sentinel workspace.
Use this process when you want to add third-party security capabilities to your environment through Security Store.
Prerequisites
Before you begin, ensure you have the following:
- Access to the Microsoft Security Store with your Entra tenant ID.
- Either the Azure Subscription Contributor or Azure Subscription Owner role in the subscription where you want to bill the SaaS solution. See Roles and permissions for more information.
- An Azure billing subscription and resource group for billing purposes
Step 1: Find Your solution
- Go to the Microsoft Security Store website.
- Select Solutions in the top menu.
- Use the search bar to type the name of the solution you want.
Step 2: Review the solution
- Select the solution and view solution details page.
- Check the Plans and Pricing tab.
- Review the Details tab for more information including documentation links and support information.
Step 3: Start the purchase
Select Get Solution button.
Step 4: Check Your permissions
Sign in to Security Store with your Microsoft Entra tenant ID. You need either the Azure Subscription Contributor or Azure Subscription Owner role. For details, see Roles and permissions.
Step 5: Enter billing information
- Choose your Azure billing subscription.
- Select the Resource group for billing.
- Enter a name for the SaaS subscription.

Step 6: Choose a plan
- Select Choose Plan.
- Select the plan that fits your needs.
Step 7: Add tags (Optional)
You can add tags to help track your purchase. Select Next to continue.
Step 8: Review and confirm
- Check the order details.
- Read the Terms of Use and Privacy Policy.
- Select Place Order to finish.
Step 9: Track subscription creation
After you place the order, the SaaS subscription creation begins. You can track progress and manage your purchase in My Solutions.

Step 10: Configure your account
When the subscription is ready, do the following:
- Select Configure Account Now.
- Sign into the vendor's website using Entra SSO.
- Follow the vendor’s instructions to register, set up, and activate your SaaS application.
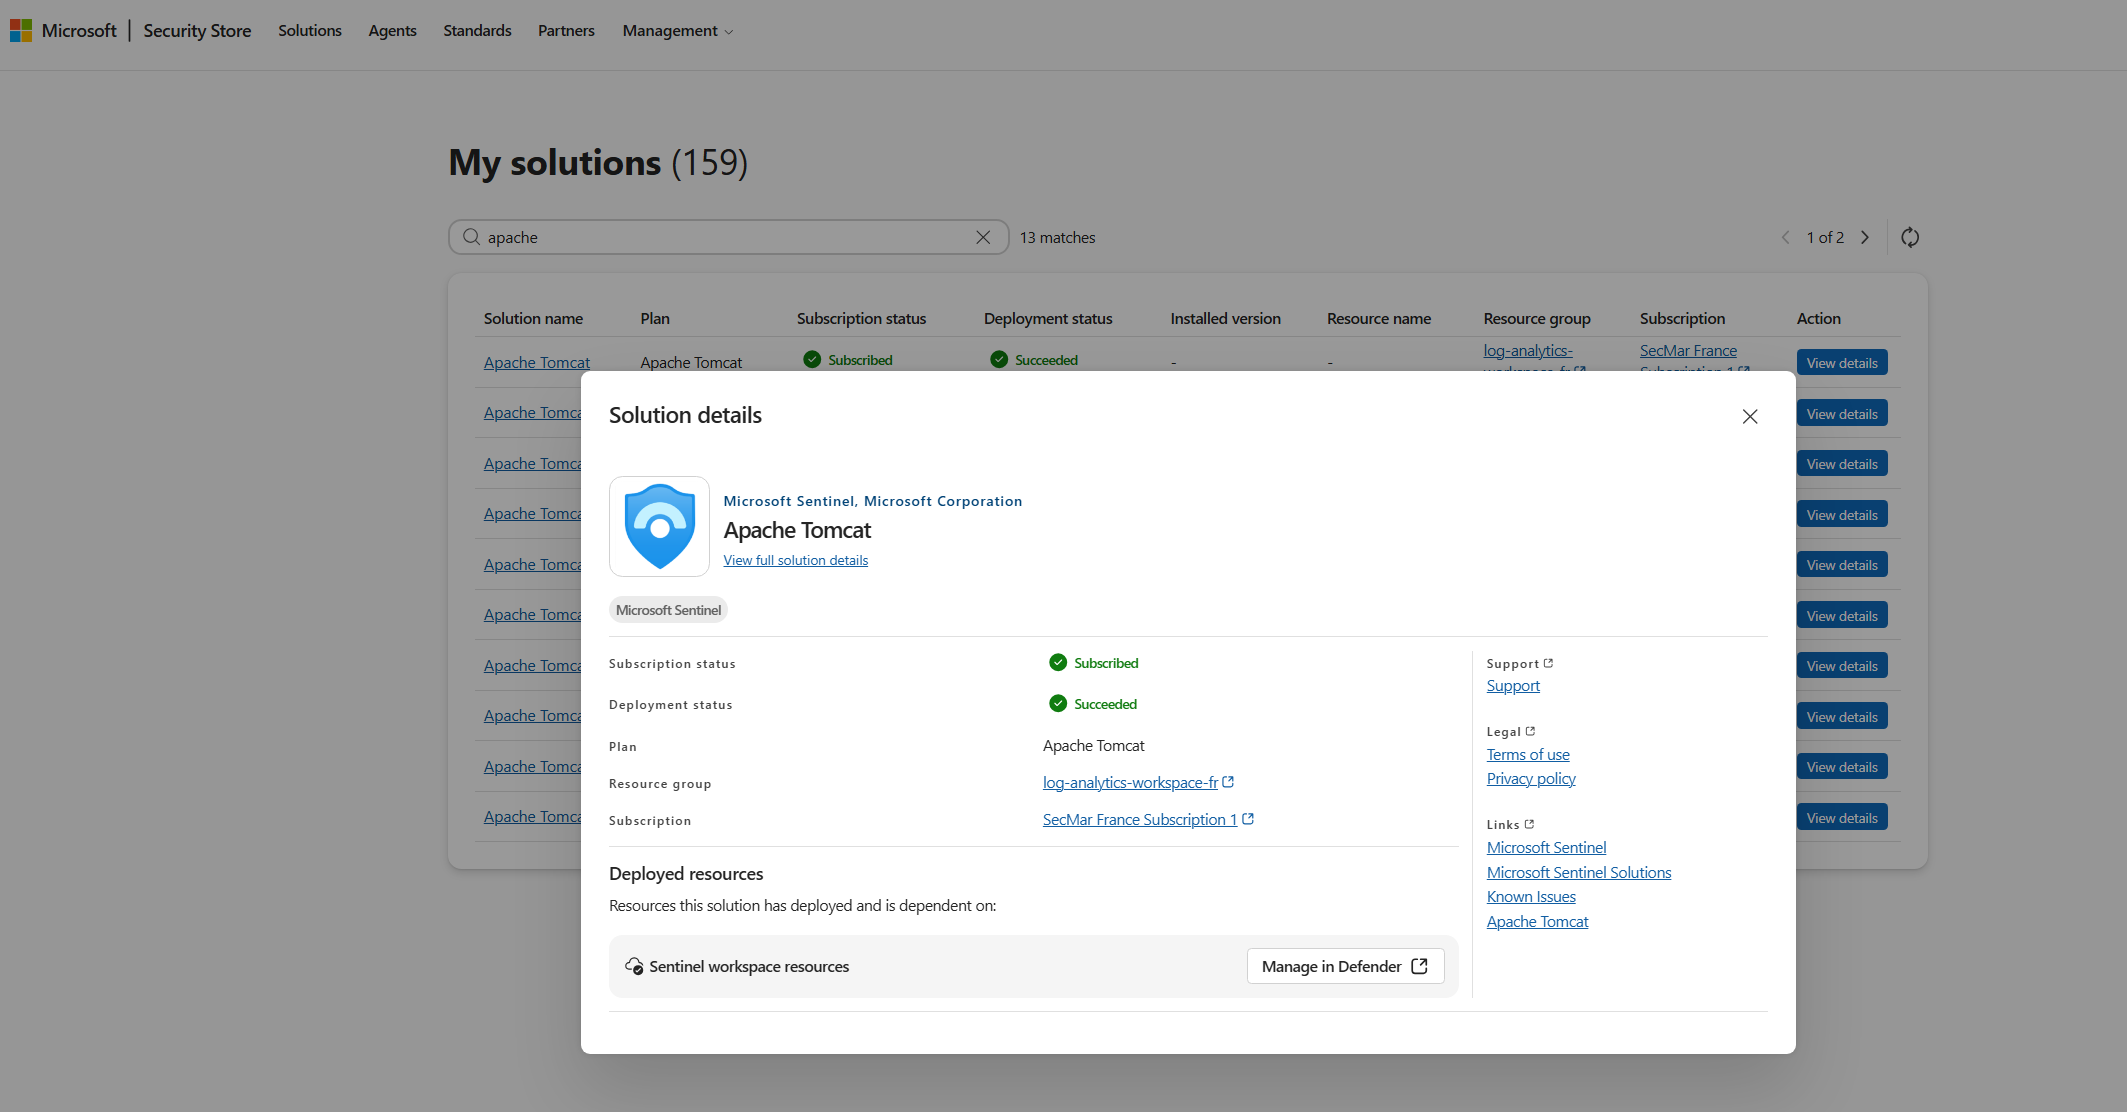
Step 11: View and manage your purchases
To view your purchased solution's state, change billing settings, or cancel your purchase, go to Management > My solutions.
View the state of your purchase
If the state is Pending Configuration, you might need to configure your account as explained in the preceding step. If you've already configured your account, the state changes to Subscribed after vendor activation.
Change billing or cancel purchase
- Find your purchased SaaS solution and select View details.
- Select the resource name to open the SaaS tool in the Azure portal.
- From the SaaS tool, you can:
- Configure the account (if you skipped this step during purchase)
- Edit recurring billing
- View billing
- Cancel subscription
- Delete subscription
- Change Azure subscription or resource group
- Change plans (supported for public offers only; you can't change your plan for private offers)

Step 12: Deploy linked solution (optional)
You can deploy a linked solution now or later:
- Go to Management > My solutions and find your purchased SaaS solution.
- Select View details.
- Follow the steps to deploy the Solution.
- If it's a Microsoft Sentinel solution, choose the appropriate Workspace and install and configure the solution in the Content Hub in the Defender portal.
The My solution details page displays the subscription and deployment state.