Note
Access to this page requires authorization. You can try signing in or changing directories.
Access to this page requires authorization. You can try changing directories.
Important
Lakebase Autoscaling is the latest version of Lakebase, with autoscaling compute, scale-to-zero, branching, and instant restore. For supported regions, see Region availability. If you are a Lakebase Provisioned user, see Lakebase Provisioned.
Databricks Apps lets you build and deploy interactive applications directly in your Azure Databricks workspace. Adding Lakebase as a resource gives your app a fully managed Postgres backend. Azure Databricks creates a service principal for your app, grants it a matching Postgres role, and injects connection details as environment variables. Your app connects to a fully managed Postgres database without managing credentials or connection strings.

This tutorial walks you through deploying a template app connected to a Lakebase database. By the end, you'll have a running app with data you can inspect and query directly from Lakebase, and optionally register in Unity Catalog alongside your lakehouse data.
Prerequisites
Before you begin, make sure you have the following:
- Access to an Azure Databricks workspace with Lakebase and serverless compute enabled. Contact your workspace admin if needed.
- Permission to create compute resources and apps.
Step 1: Provision a Lakebase instance
A Lakebase project is a managed Postgres instance that your app connects to as a resource. Projects are organized into branches, each representing an isolated database environment.
To create a Lakebase project, see Get started with Lakebase Autoscaling. Lakebase creates your project with a production branch and a databricks_postgres database.
Step 2: Create a Databricks app
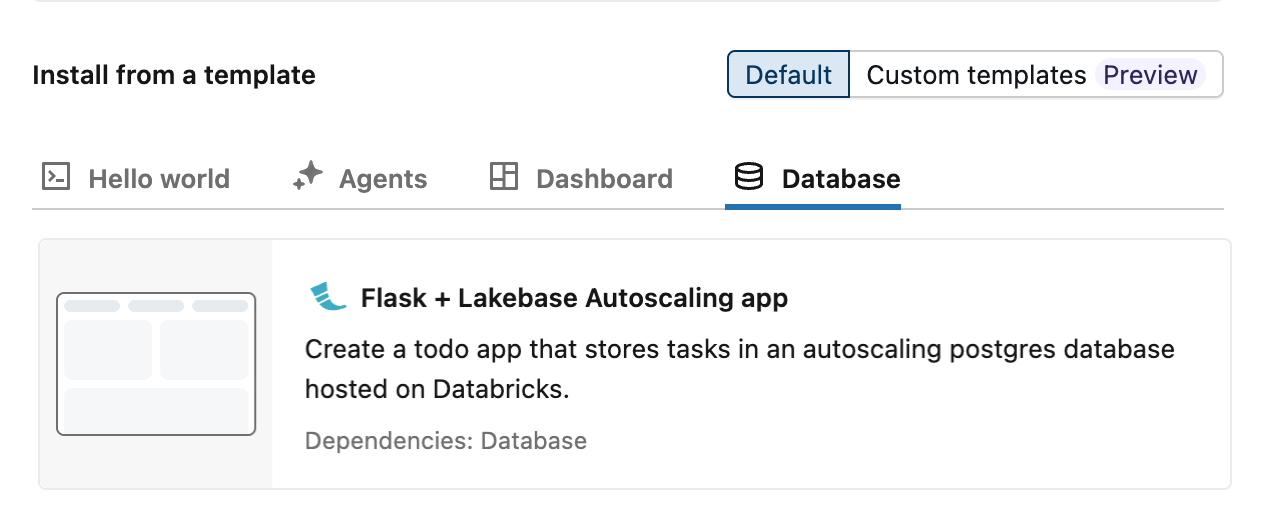
Azure Databricks provides three autoscaling app templates that demonstrate Lakebase integration using a todos app: Dash, Flask, and Streamlit. To create an app from a template:
- In your Azure Databricks workspace, click the
 app switcher and select Databricks Apps.
 - Click + Create app.
- Select your preferred template from the Database tab.
Step 3: Configure a database resource
Adding Lakebase as a resource creates a service principal with the correct database permissions and injects your connection details as environment variables into the app. This lets the template connect to your database automatically, without any connection strings in your code.
In the Configure step, configure the following settings.
- For App resources, select your Lakebase project, branch, and database. Branch names appear as IDs. To match IDs to names, see your project's branches page.
- For Compute size, select Medium. This controls app server compute, which is separate from the Lakebase database compute and scales independently.

For more information, see Add a Lakebase resource to a Databricks app.
Step 4: Review authorizations
Each Databricks app runs as its own service principal, a dedicated identity separate from any individual user. When you connect Lakebase as a resource, Azure Databricks creates a matching Postgres role for that service principal and grants it full database access. No manual role setup is required.

Step 5: Name your app and install
Lakebase uses the app name to generate a schema name in the format {app-name}_schema_{service-principal-id} (hyphens removed from the ID). You can't change the app name after creation, but you can rename the schema later. The template defaults to lakebase-autoscaling-app.
Click Create app to create the app.
Step 6: Deploy the app
After you create the app, compute starts automatically and your app deploys in about 2-3 minutes without any further action. When the app status shows Running, click the URL next to it to open your app.

Step 7: Verify the integration
Add a few todos in your app. In your Lakebase project, open Tables and select the todos table under your app's schema. The app's service principal wrote those rows using the connection details injected in Step 3.

To query the data directly, use the SQL Editor in your Lakebase project. Because Lakebase scales to zero when idle, the first query after a long pause might take a few seconds to respond. For other connection options, see Connect to your database.
Step 8: Query through Unity Catalog (optional)
By default, your app's Lakebase data is accessible directly through Postgres connections. Registering it in Unity Catalog makes it queryable alongside your lakehouse data using standard Databricks SQL. You can then join your app's transactional tables with Delta tables in the same query.
To register, open Catalog Explorer and create a new catalog. Select Lakebase Postgres as the catalog type, choose Autoscaling, and select the same project and branch as your app. See Register your database in Unity Catalog for full details.
Note that schema names in Unity Catalog preserve hyphens from your app name. Both the catalog and schema names require backtick quoting:
SELECT * FROM `your-catalog-name`.`lakebase-autoscaling-app_schema_aeb6ff9198ff4752af7dfc6d4cf570d0`.todos;