Bemærk
Adgang til denne side kræver godkendelse. Du kan prøve at logge på eller ændre mapper.
Adgang til denne side kræver godkendelse. Du kan prøve at ændre mapper.
Important
Network security group (NSG) flow logs will be retired on September 30, 2027. After June 30, 2025, you'll no longer be able to create new NSG flow logs. We recommend migrating to virtual network flow logs, which address the limitations of NSG flow logs. After the retirement date, traffic analytics enabled for NSG flow logs will no longer be supported, and existing NSG flow log resources in your subscriptions will be deleted. However, existing NSG flow log records won't be deleted from Azure Storage and will continue to follow their configured retention policies. For more information, see the official announcement.
Azure Policy helps you enforce organizational standards and assess compliance at scale. Common use cases for Azure Policy include implementing governance for resource consistency, regulatory compliance, security, cost, and management. To learn more about Azure Policy, see What is Azure Policy? and Quickstart: Create a policy assignment to identify noncompliant resources.
In this article, you learn how to use built-in policies to audit your setup of network security group (NSG) flow logs.
Audit network security groups using a built-in policy
The Flow logs should be configured for every network security group policy audits all existing network security groups in a scope by checking all Azure Resource Manager objects of type Microsoft.Network/networkSecurityGroups. This policy then checks for linked flow logs through the flow logs property of the network security group, and it flags any network security group that doesn't have flow logs enabled.
To audit your flow logs using the built-in policy, follow these steps:
Sign in to the Azure portal.
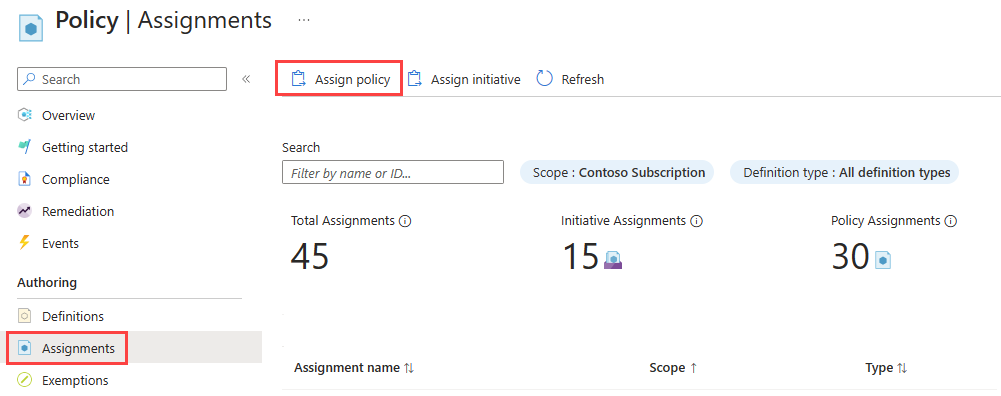
In the search box at the top of the portal, enter policy. Select Policy from the search results.

Select Assignments, and then select Assign policy.
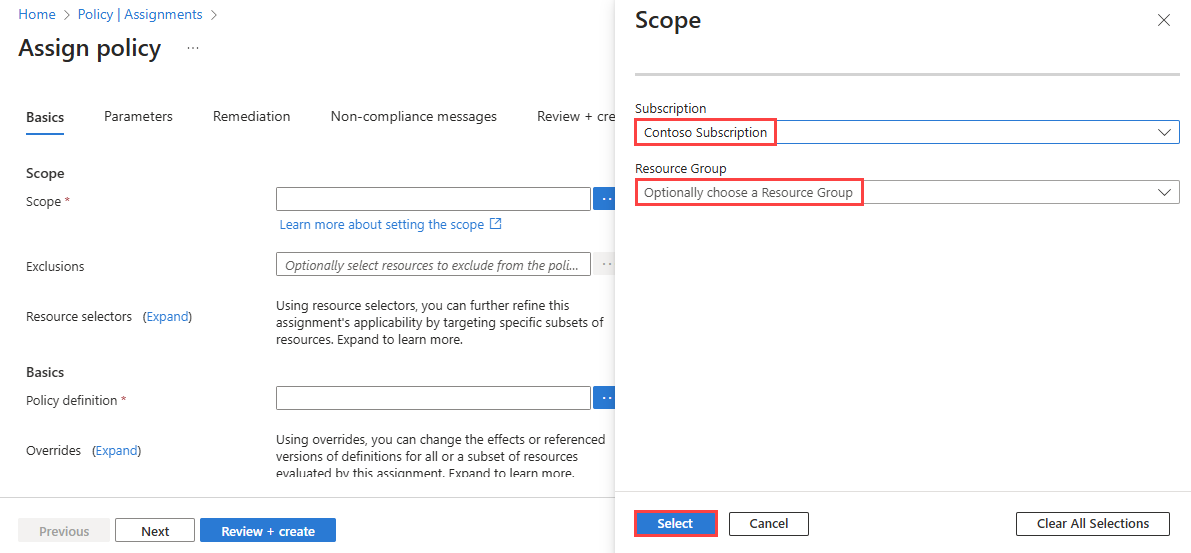
Select the ellipsis (...) next to Scope to choose your Azure subscription that has the network security groups you want the policy to audit. You can also choose the resource group that has the network security groups. After you make your selections, choose the Select button.
Select the ellipsis (...) next to Policy definition to choose the built-in policy that you want to assign. Enter flow log in the search box, and then select the Built-in filter. From the search results, select Flow logs should be configured for every network security group, and then select Add.

Enter a name in Assignment name, and enter your name in Assigned by.
This policy doesn't require any parameters. It also doesn't contain any role definitions, so you don't need to create role assignments for the managed identity on the Remediation tab.
Select Review + create, and then select Create.

Select Compliance. Search for the name of your assignment, and then select it.

Select Resource compliance to get a list of all noncompliant network security groups.


